
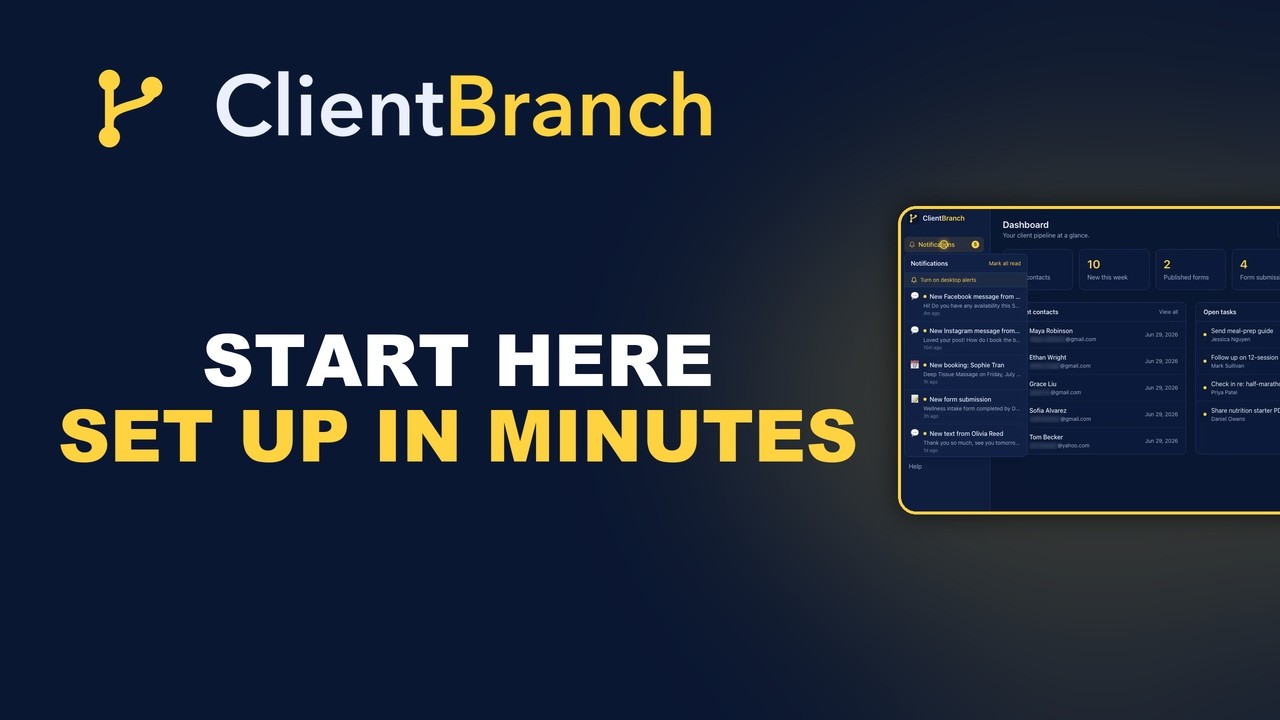
Your First Five Steps in ClientBranch (Set Up in an Afternoon)
A fresh account and a dozen buttons is where a lot of tools lose people. Here is the short, honest path from empty dashboard to your first booking and your first payment.
You signed up, the welcome email arrived, and then you landed on a fresh dashboard with a dozen things you could click and no obvious place to begin. That blank-page moment is where a lot of software quietly loses people. They mean to come back and finish setting it up, the week gets busy, and the tool sits half-configured until the trial runs out.
We did not want that to be your first experience with ClientBranch, so we built the opposite of a blank page. This is the short, honest walk-through of your first afternoon: five steps that take you from an empty account to taking real bookings and payments. No setup course, no consultant, no configuration marathon.
Start with the checklist, not a guess
The moment you log in, open Getting Started from the Help menu. It is a live checklist of the handful of things worth doing first, and it ticks each item off by itself as you finish, so you always know exactly where you left off. There is a short welcome video at the top, and every step has a button that drops you straight onto the right screen. You are never hunting through settings wondering if you missed something.
One thing worth knowing before you start: your free trial unlocks every feature on every plan for the full fifteen days. So you can try the whole thing, see what you use, and choose your plan later based on real experience rather than a guess.
Step one: make it yours
Start with your business profile. Add your name, your logo, your contact details and your brand color. This is the quickest win in the whole setup because it flows everywhere at once. Your booking pages, invoices, emails and public site all pick it up immediately, so the first thing a client sees looks like you and not like a piece of software you happen to use.
It takes five minutes and it changes how everything else feels. Every screen you build after this already looks finished.
Step two: connect Stripe and get paid
Next, connect your Stripe account. This is the step people are tempted to skip, and it is the one we would do first if we could. Until payments are on, everything else is admin. Once they are on, ClientBranch can start earning for you.
Connecting takes a couple of minutes, and the money is genuinely yours. Payments land in your own Stripe account, not in a middleman balance you have to wait on or pull from. With Stripe live you can send an invoice, take a deposit, sell a package, or get paid at the point of booking, all without chasing anyone for a bank transfer.
Step three: open your calendar for bookings
Now set up how people book you. Create a calendar, add the services or session types you offer, and set the hours you are available. ClientBranch hands you a clean booking page you can share as a link or drop onto your site, and it stops double bookings for you by holding each slot the moment it is taken.
If you already live in Google Calendar, connect it so your personal commitments block out automatically and you never get booked over a school run or a dentist appointment. From here on, someone can find a time, book it, and pay for it while you are asleep.
Step four: capture every lead in one place
Bookings are the people ready to buy now. The next step is catching everyone who is still deciding. Add a contact form, a quiz, or the chat widget to your site, or publish one of the built-in landing pages, and every enquiry lands in the same place: your Contacts, with a full history against each person.
This is the quiet superpower of running everything in one login. A lead who fills in a form, a client who books, and a customer who pays are all the same record, so you can see the whole relationship at a glance instead of piecing it together from your inbox, your calendar and your notes app.
Step five: turn on instant follow-up
The last step is the one that keeps working after you close the laptop. Turn on an automation so that the second a new lead comes in, they get an instant reply. A fast, friendly first message while someone is still interested is the single biggest difference between a lead that books and one that drifts to whoever answered first.
You can start with a simple auto-reply and grow it into a short follow-up sequence later. Set it once, and it runs on every lead, every day, without you remembering to do it.
That is the whole first day
Brand it, connect payments, open your calendar, capture your leads, and switch on follow-up. Five steps, one afternoon, and you have a business that can be found, booked and paid without you being the glue between five different tools. The optional extras, your website, proposals, contracts, reviews and marketing, are all waiting when you want them, but they are not what stands between you and your first booking.
The best part is that the checklist remembers all of this for you. Close it halfway through, come back tomorrow, and it will show you exactly what is left. Start your free trial, open Getting Started, and give yourself an afternoon. It is a lighter week than you think.
Try ClientBranch free for 15 days
Get booked, get paid, and keep clients coming back, all from one place. No card required, cancel anytime.
Start my 15-day free trial